The Key to a Successful Slope to Drain Installation
I can remember when I was a crew leader and the salesman told me that he had a small project in a chemical plant that required floor sloping to the drains. I had no idea what he was talking about until I got into the plant and walked the area. I remember walking the project and wondering how I was going to get the water and chemicals that were puddling all over the floor to go from one end of the room to the other, where the new trench drain had been installed. Fast forward to now, I have 30 years of experience in the industry, and it still gives me anxiety to think about because there are so many things that can go wrong if the project is not sold and installed correctly. There are many important pieces of information that must be brought to everyone's attention before the scope of work can be discussed.
DRAIN LAYOUT AND LOCATION
The layout and location of the drain in a room will determine the length of the “run” that will be required to establish the floor sloping Once the “run” is established (length from the wall or termination point to the drain) the slope will need to be determined. This is usually determined by the owner or Architect and will vary from 1/16” per linear foot up to ¼” per linear foot. These measurements determine the amount of fall for each foot of run towards the drain.
“I can tell you from 30 years of experience that 1/16” slope per linear foot is flat and will not move water from point A to point B without ponding water so if you see this or are asked to slope the floor at 1/16” I would question it.” - Tim Hicks, President
DOORS
Always be thinking about the direction of the doors into the room. If the doors open into the room, you will have issues with the doors not opening because you are changing the elevation of the floor. There are a couple of ways to prevent these issues but need to be discussed prior to starting the project. The doors can be removed and cut to allow for the slope material which can be very expensive, and most owners/Architects don’t want to cut any door. The other option is to exclude the sloping material in the sweep area of the door. This option creates a flat area inside the door sweep area and will hold water or other chemicals and has the potential to create a tripping hazard because the areas outside the door sweep area will need to be higher to create the slope.
MATERIAL SELECTION
The materials used to slope can vary from a cementitious mortar, epoxy mortar and urethane mortar. All these mortars work well, but you always need to factor in what product is going to be applied over it. We recommend getting your manufacturers involved in this decision process since most have an underlayment that they will recommend for sloping.
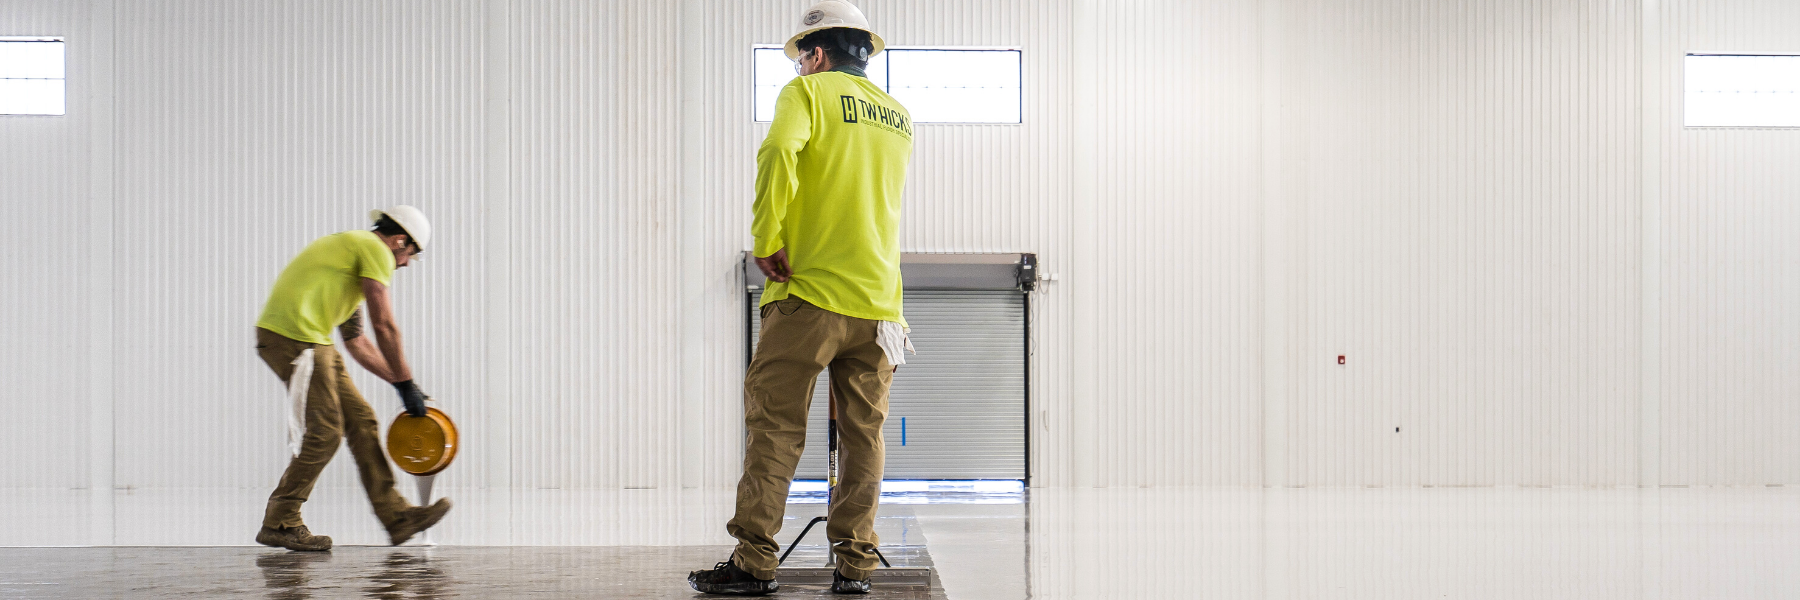
INSTALLATION
Once you are confident that you have thought all of this through it is time to install the system that is going to get water or chemicals from one part of the floor to the drain. This is where you have to have the best installation crew possible because they are being asked to not only trowel a system in place but now, they also have to worry about sloping it at the rate everyone has agreed to and the water or chemical needs to run to the drain without ponding or puddling anywhere! Our installation crews have used everything from string lines to runners but at the end of the day it just takes a skilled crew that has an eye for sloping the floor to the drain at the proper pitch.
Always remember to water test your work before applying any finished flooring system over the top of the underlayment used to establish the floor slope. This will give you an opportunity to make any corrections where a birdbath might appear. It is always easier to fix these issues before the final finish is applied.